Sounders, Side Imaging and GPS for Finding Fish and Structure
Why Electronics Matter More Than Luck
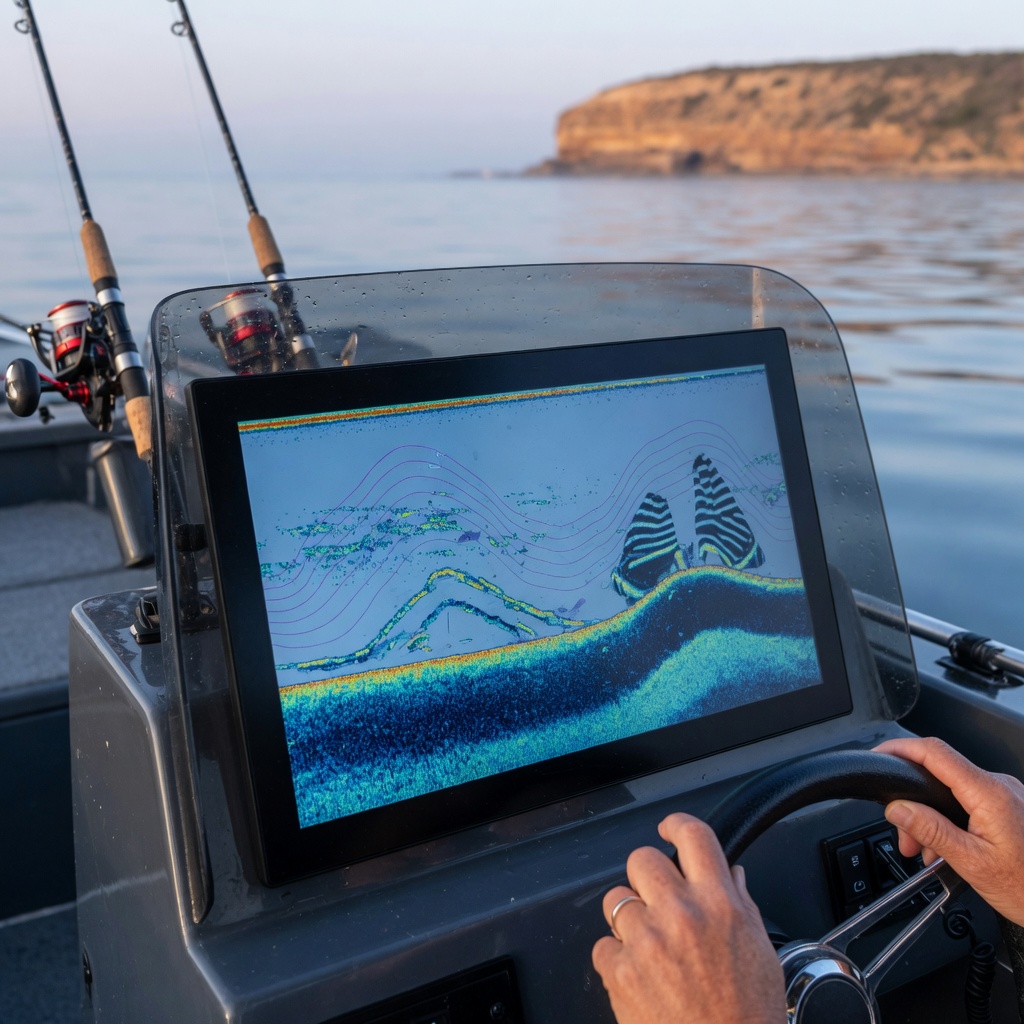
Most anglers who consistently catch good fish are not luckier than everyone else, they simply spend less time fishing empty water. A sounder and GPS combination lets you confirm depth, bottom hardness, bait presence and structure before you ever wet a line. Around Sydney that might mean finding a rubble edge in 40 m off the coast for snapper, a deep bend hole in the Hawkesbury for mulloway, or a single fallen tree in a Blue Mountains impoundment holding Australian bass. The screen does not catch the fish for you, but it tells you where to spend your effort during the tide and light windows that actually matter.
Understanding the Three Main Views
Traditional 2D Sonar
Conical beam sonar remains the best tool for judging bottom hardness, water column bait and fish arches directly under the boat. A hard reef returns a thick, bright bottom line with a second echo below it; soft mud returns a thin, softer line. Learn to read the difference and you can map reef edges without ever seeing a fish. Set sensitivity high enough that you see faint scatter and bait clouds, then back it off if the screen fills with clutter.
Down Imaging
High frequency down imaging gives near photographic detail of timber, rock ledges and thermoclines. It is excellent for identifying whether a mark is a snag, a rock or a weed bed, which matters when choosing between a soft plastic, a bait rig or a deep diving lure.
Side Imaging
Side imaging scans out to either side of the boat, often 30 m or more in shallow water. This is the fastest way to search estuary flats, drop-offs and freshwater dam banks. Run the boat in a straight line at a steady 6 to 9 km/h, keep the transducer clean of aeration, and watch for shadows. A hard shadow behind an object tells you it stands proud of the bottom, and objects with long shadows usually hold fish.
Setting Up for Australian Conditions
- Frequency: use lower frequencies (around 50 kHz) for deep offshore water and higher frequencies (200 kHz and above) for estuaries and shallow reef.
- Chart speed: match it roughly to your boat speed so arches look natural rather than stretched or squashed.
- Depth range: lock the range manually when working a specific contour so the screen does not jump and hide detail.
- Noise: turn off interference rejection when possible and instead fix the cause, usually a poorly mounted transducer sitting in prop wash or bubbles from a strake.
- Colour palette: pick one palette and stay with it. Consistency trains your eye far faster than switching every trip.
Reading Fish, Bait and Structure
Arches form when a fish passes through the cone; a full arch means it moved through the middle of the beam, while a half arch or dash means it clipped the edge. Big pelagics such as kingfish and tuna often show as thick, fast moving marks above bait balls. Demersal species hug the bottom, so look for slight bumps or a fuzzy layer sitting just above the substrate rather than obvious arches. Bait is the key signal in almost every fishery: dense schools of yellowtail or pilchards over reef, or clouds of prawns and glassies in an estuary, mean predators are nearby. If you are still working out what you are looking at once fish are in the boat, our species profiles and identification guides help match the mark on screen to the fish on the deck.
Using GPS to Build a Private Fishing Map
The real long-term value of electronics is the waypoint library you build over years. Mark everything: reef edges, bommies, drains, weed lines, snags, drop-offs, the exact spot where a fish ate, and the spots that looked good but produced nothing. Add short notes with tide stage, wind and season so patterns emerge. Over time you will notice that a particular ledge fires on a rising tide with a light nor-easter, while another works only on the last of the ebb.
- Search first with side imaging at cruising search speed, marking anything interesting.
- Return and pass slowly over each mark with 2D and down imaging to confirm.
- Note the drift direction, then set up an approach that keeps you off the structure while your bait or lure swings onto it.
- Log the result, positive or negative, before you leave the area.
Contour mapping and depth shading make it easy to follow a specific isobath, which is how many offshore anglers find snapper on the 30 m line or trace a channel edge for flathead on a dropping tide.
Safety, Courtesy and Conservation
Electronics are also safety gear. A chartplotter with a saved track is invaluable if fog or dark closes in, and depth alarms help you avoid shallow bars and rock ledges. Never rely solely on a screen for bar crossings, always check the marine forecast, wear a lifejacket and log on with your local marine rescue service. Remember that finding fish easily brings responsibility: rotate your marks, release breeding size fish carefully, use release weights to manage barotrauma when fishing deeper reef, and avoid repeatedly hammering a single small piece of structure. Verify current bag limits, size limits and closed areas with the relevant state or territory fisheries authority before you fish, as rules differ and change over time.
Questions About Gear or Local Marks?
Australian Fish Species publishes technique and destination guides for anglers across Australia. Reach us at [email protected] or +61295585271 during Mon–Fri: 09:00 – 17:00 (AEST) if you would like a topic covered in more depth.
Navigation
See also
FAQ